
Are you starting from this chapter?
Clone the application repo and check out the getting-started branch:
git clone git@github.com:auth0-blog/wab-menu-api-nestjs.git \
nest-restaurant-api \
--branch getting-started
Make the project folder your current directory:
cd nest-restaurant-api
Then, install the project dependencies:
npm i
Finally, create a .env hidden file:
touch .env
Populate .env with this:
PORT=7000
Organize NestJS Apps Using Modules
A project of large size is easier to maintain and grow when its architecture is predictable and well-organized instead of being a spaghetti-like mess. NestJS uses modules to help you organize your application logically and to establish clear feature boundaries.
Each application has at least one module, the root module, and any number of feature modules that encapsulate components related to a specific application feature. NestJS uses the root module as a data structure to track and resolve the relationships between all your application components.
This application needs three modules: the root module, AppModule, and two feature modules: ItemsModule to encapsulate logic related to the items resource and AuthModule to handle anything related to API authorization.
Start by creating an ItemsModule using the NestJS CLI, which was installed as one of your devDependencies when you scaffolded your NestJS project:
nest generate module items
Under the src directory, the CLI creates a new items directory to host your module files, which includes items.module.ts to define the ItemsModule. As you can see, a module is a class annotated with a @Module() decorator, which provides metadata that NestJS uses to organize the application structure.
Additionally, as you create new feature elements (such as classes, controllers, and services), the NestJS CLI updates the dependencies of your modules automatically. Open src/app.module.ts and notice how AppModule lists ItemsModule as an element of its imports array:
// src/app.module.ts

import { Module } from '@nestjs/common';
import { ItemsModule } from './items/items.module';

@Module({
  imports: [ItemsModule],
  controllers: [],
  providers: [],
})
export class AppModule {}
“As an architecture framework, NestJS takes the guesswork out of project structure and lets you focus on what matters the most: building robust applications”
Tweet This
Create Data Models with TypeScript
Before creating any controllers and services, define the structure of the data you want to manage. A menu item has the following properties:
id: (number) Unique identifier for the item recordname: (string) Name of the itemprice: (number) Price of the item in dollarsdescription: (string) Description of the itemimage: (string) URL pointing to the item's image
With TypeScript, you can use either classes or interfaces to define and enforce the structure of objects during development. NestJS recommends using classes as these are preserved as real entities in the compiled JavaScript. Classes can also use decorators on its member variables to enhance them, which is quite helpful for data validation.
Using the CLI generate an Item class:
nest generate class item --no-spec
NestJS creates an item.ts file under the src directory for you. Open this file and populate it like so:
// src/item.ts

export class Item {
  readonly id: number;
  readonly name: string;
  readonly price: number;
  readonly description: string;
  readonly image: string;
}
It would be best to put these objects of type Item in a key-value store with the id property serving as the key and the Item object as the value.
Using the CLI generate an Items class:
nest generate class items --no-spec
Update the newly created src/items.ts file as follows:
// src/items.ts

import { Item } from './item';

export class Items {
    [key: number]: Item;
}
As you'll use these class definitions to type the methods of controllers and services that you'll create in the next sections, it's fine for these files to live under the src directory.
Create a NestJS Service
Initially, you'll use an in-memory store to hold application data. Eventually, you'd want to persist those records in a MongoDB or PostgreSQL store — or any other database. To migrate stores easily, you can use a pattern common to MVC architectures: lightweight controllers that delegate business logic to services.
As such, you'll create a service to encapsulate all the business logic related to read and write operations on the menu items store. In turn, this service will expose an interface for your controllers to perform these data operations. You'll end up with a modular and reusable service that you can eventually modify to use different stores without changing the code of any of its consumers.
Use the NestJS CLI to create an ItemsService as follows:
nest generate service items --no-spec
The
--no-specflag prevents the generation of files related to testing.
NestJS creates items.service.ts under the src/items directory. The newly defined ItemsService is also automatically registered as a provider of ItemsModule.
// src/items/items.module.ts

import { Module } from '@nestjs/common';
import { ItemsService } from './items.service';

@Module({
  providers: [ItemsService],
})
export class ItemsModule {}
ItemsService will define an object to hold your store records along with methods to perform data operations on the store.
Update src/items/items.service.ts with the following code:
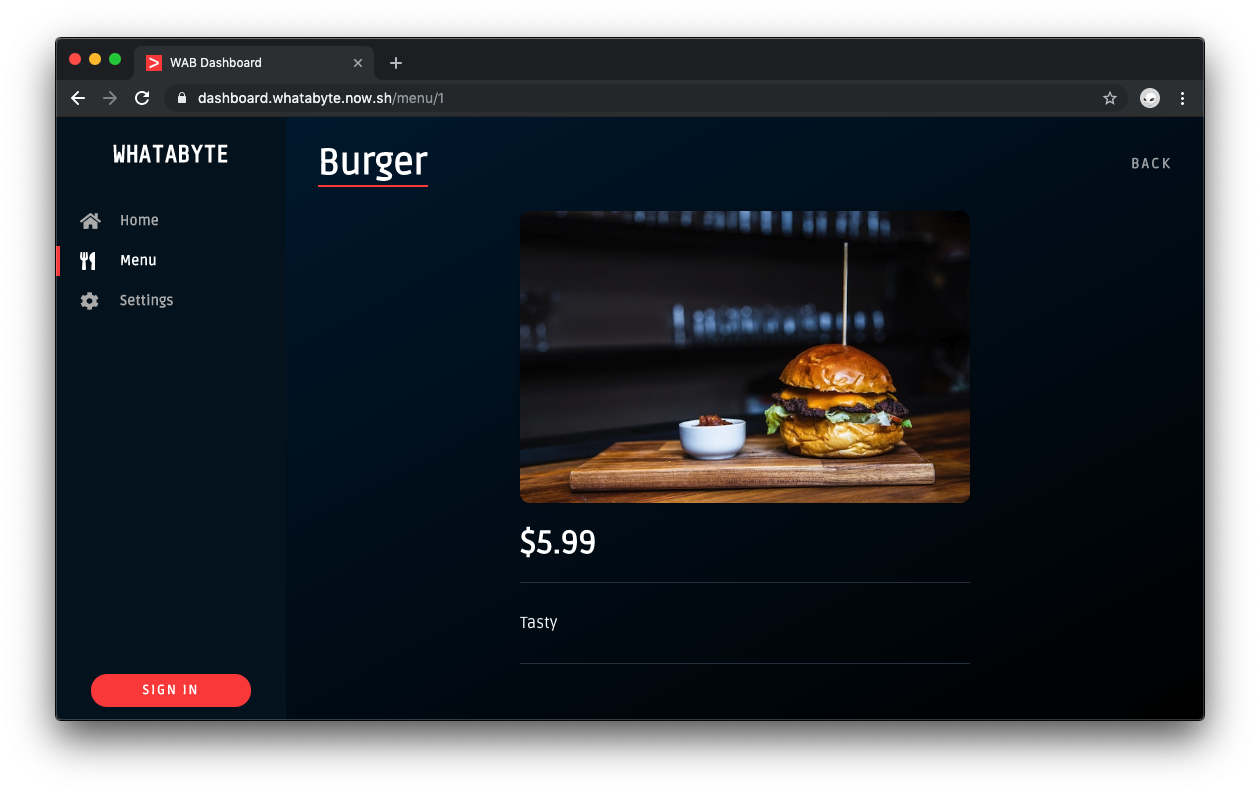
// src/items/items.service.ts

import { Injectable } from '@nestjs/common';
import { Item } from '../item';
import { Items } from '../items';

@Injectable()
export class ItemsService {
  private readonly items: Items = {
    1: {
      id: 1,
      name: 'Burger',
      price: 5.99,
      description: 'Tasty',
      image: 'https://cdn.auth0.com/blog/whatabyte/burger-sm.png',
    },
    2: {
      id: 2,
      name: 'Pizza',
      price: 2.99,
      description: 'Cheesy',
      image: 'https://cdn.auth0.com/blog/whatabyte/pizza-sm.png',
    },
    3: {
      id: 3,
      name: 'Tea',
      price: 1.99,
      description: 'Informative',
      image: 'https://cdn.auth0.com/blog/whatabyte/tea-sm.png',
    },
  };

  findAll(): Items {
    return this.items;
  }

  create(newItem: Item): void {
    const id = new Date().valueOf();
    this.items[id] = {
      ...newItem,
      id,
    };
  }

  find(id: number): Item {
    const record: Item = this.items[id];

    if (record) {
      return record;
    }

    throw new Error('No record found');
  }

  update(updatedItem: Item): void {
    if (this.items[updatedItem.id]) {
      this.items[updatedItem.id] = updatedItem;
      return;
    }

    throw new Error('No record found to update');
  }

  delete(id: number):void {
    const record: Item = this.items[id];

    if (record) {
      delete this.items[id];
      return;
    }

    throw new Error('No record found to delete');
  }
}
Notice that the create method creates a unique id property automatically for you when a new Item object is created using the JavaScript Date API:
const id = new Date().valueOf();
This id value is based on the number of milliseconds between 1 January 1970 00:00:00 UTC and the current time.
About the author

Dan Arias
Software Engineer (Auth0 Alumni)