

When I started developing and writing tests for Angularjs applications, everything felt natural. The tools were mature and I easily got used to developing applications in TDD (Test-Driven Development). It gave me a high level of confidence, knowing that my application was working as I had imagined. Just after Angular 2 came out and I learned the basics, I knew that the next step was to testing.
This article is the first part of a series in which I share my experiences testing different building blocks of an Angular application. We will start with simple use cases and then head for more complex ones.
- Services (this article)
- Http Services
- Components
- Pipes
- Routing
You may wonder why it is so important to write tests.

With tests, we can ensure the correctness of our application: that the code does what it was designed to do. We can guard against someone breaking our code by refactoring or adding new features. This might have happened to you when someone added a small feature or equivalent code transformations and nothing worked afterwards. Writing tests can clarify the intention of the code by giving usage examples. It can also reveal design flaws. When a piece of code is hard to test, there might be a problem with the underlying architecture.
If you are new to Test-Driven Development, I would recommend reading the Test-Driven Development book by Kent Beck. It gives a nice overview about the concepts and best practices.
Choosing the framework to test Angular

The first thing we have to choose is the framework. The one suggested by Angular's core team is
Jasmine.
For a long time it was the only supported testing framework, because test setups were hard wired into the framework.
Thanks to refactoring, now tests can also be written in Mocha, or any other framework
that supports the beforeEach hook. This hook runs before every test run.
If your framework of choice doesn't support it, you have to add the following code snippet to your setup:
import { resetFakeAsyncZone, TestBed } from '@angular/core/testing';

beforeEveryTestHook(() => {
  TestBed.resetTestingModule();
  resetFakeAsyncZone();
});
The first line within the hook resets the internal state of the Dependency Injection container. It clears out any given provider or module. If you are not familiar with Dependency Injection, I would recommend reading the official documentation about it.
The second one clears out any remaining zone that fakes asynchronous operations like setTimeout.
Detailed articles can be found on the Thoughtram blog about zones:
Understanding zones and
Zones in Angular.
For this series, we will be using Jasmine as the test framework.
Writing the first Angular test
Let's look at our first service that will be tested.
import { Injectable } from '@angular/core';

@Injectable()
export class Engine {
  getHorsepower() {
    return 150;
  }

  getName() {
    return 'Basic engine';
  }
}
It has two getter methods and the Injectable decorator.
The tests will check whether these getter methods work as intended.
The decorator is needed to utilize dependency injection.
In Jasmine, we can group our tests with the describe method.
Within this method, we can create test cases with the it function.
It is advised to place one class per file (the service) and group the tests around it (with describe).
We can further group test cases around methods of the class
by placing describe statements inside the top describe block.
For now we will only group our tests around the class.
import { Engine } from './engine.service';

describe('Engine', () => {
  it('should return it's horsepower', () => {
    let subject = new Engine();

    expect(subject.getHorsepower()).toEqual(150);
  });
});
In this setup, only plain instantiation is used; we will introduce dependency injection later. For basic services, plain instantiation can be enough.
We call the getHorsepower method of the engine and check that it's equal to the expected value.
The first test is green and has been passed. Let's write another one for the getName method.
it('should return it's horsepower', () => {
  let subject = new Engine();

  expect(subject.getName()).toEqual('Basic engine');
});
If you run the tests, a similar output will be on the terminal.

Both tests have been passed; it is time to refactor. There is duplication at the start of each Angular test. Instantiation is exactly the same, we can move it out into a setup block.
describe('Engine', () => {
  let subject: Engine;

  beforeEach(() => {
    subject = new Engine();
  });

  it('should return it's horsepower', () => {
    expect(subject.getHorsepower()).toEqual(150);
  });

  it('should return it's horsepower', () => {
    expect(subject.getName()).toEqual('Basic engine');
  });
});
The subject variable is declared at the start of the describe block, and the creation of the service
is moved to the beforeEach block. This way we don't have to do it manually every time.
It is common to move the creation of the test case subject to a separate method,
because it offloads the tests and makes them more readable.
Using Dependency Injection
Creating services directly can be good if the subject under test has no or few, dependencies. But if it has multiple dependencies, or a deeper dependency tree, setting up all the classes becomes tedious. For these situations, we can use Angular's dependency injection management.
The Car class uses the Engine class in the constructor and its instance in the getName method.
import { Injectable } from '@angular/core';
import { Engine } from './engine.service';

@Injectable()
export class Car {
  constructor(private engine: Engine) {}

  getName() {
    return `Car with ${this.engine.getName()}(${this.engine.getHorsepower()} HP)`;
  }
}
We check for the getName method's output in the test after we set up the dependency injection container.
import { TestBed, inject } from '@angular/core/testing';
import { Engine } from './engine.service';
import { Car } from './car.service';

describe('Car', () => {
  let subject: Car;

  beforeEach(() => {
    TestBed.configureTestingModule({
      providers: [Engine, Car]
    });
  });

  beforeEach(inject([Car], (car: Car) => {
    subject = car;
  }));

  it('should display name with engine', () => {
    expect(subject.getName()).toEqual('Car with Basic engine(150 HP)');
  });
});
The difference here is that we configure the TestBed with the provided
services in the configureTestingModule method.
Only these classes can be instantiated with the inject method.
If we try to request something else, we get an error saying it is an unknown provider.

We can request instances of the services in an array from the inject method.
In the callback, we get the instances in the same order as in the dependency array with the first parameter.
The type hint inside the callback is only for IDE completion; it also works without it.
In the example, it is placed inside the beforeEach function, but it can also be added to the it block.
it('should display name with engine', inject([Car], (car: Car) => {
  expect(car.getName()).toEqual('Car with Basic engine(150 HP)');
}));
Mocking
In unit tests for Angular, we want to execute the code in isolation. This means it is not dependent on big, complex objects and is not calling methods that rely on external systems (like HTTP calls or database access). In these cases, we want to simulate the original behavior while skipping the underlying implementation.
When achieved, it is called mocking.
We don't have to do it manually. Jasmine provides tools to make it work.
Let's assume that the method of the Engine class has a call through to the server
and we want to mock it.
...
beforeEach(() => {
  TestBed.configureTestingModule({
    providers: [Engine, Car]
  });

  spyOn(Engine.prototype, 'getHorsepower').and.returnValue(400);
  spyOn(Engine.prototype, 'getName').and.returnValue('V8 engine');
});

...

it('should display name with engine', () => {
  expect(subject.getName()).toEqual('Car with V8 engine(400 HP)');
});
We mock the class methods by calling the spyOn method on the class's prototype.
We also alter the return value of the function. This way the original method never gets called.
When mocking the prototype, it affects every instance of the class.
Using Dependency Injection for Mocking
The previous solution for mocking can be achieved also with Angular's dependency injection mechanism.
We pass the Engine class as the provider token, but create the instances with a fake class.
@Injectable()
class V8Engine {
  getHorsepower() {
    return 400;
  }

  getName() {
    return 'V8 engine';
  }
}
Then we pass this fake class to the setup.
beforeEach(() => {
  TestBed.configureTestingModule({
    providers: [
      { provide: Engine, useClass: V8Engine },
      Car
    ]
  });
});
With this setup, the inject call will return an instance of V8Engine when asked for Engine.
We can also use useFactory with a callback, or useValue with an instance, to accomplish the same result.
The only drawback here is that every method of the class must be implemented and changed
whenever the original class changes.
The original class can be extended optionally in order to override only specific methods.
Aside: Authenticate an Angular App with Auth0
By integrating Auth0 in your Angular application, you will be able to manage user identities, including password resets, creating, provisioning, blocking, and deleting users. It requires just a few steps.
Set up an Auth0 application
First, sign up for a free account here. Then, set up an Auth0 application with the following steps:
- Go to your Applications section of the Auth0 Dashboard and click the "Create Application" button.
- Name your new app and select "Single Page Web Applications" as the application type.
- In the Settings for your new Auth0 app, add
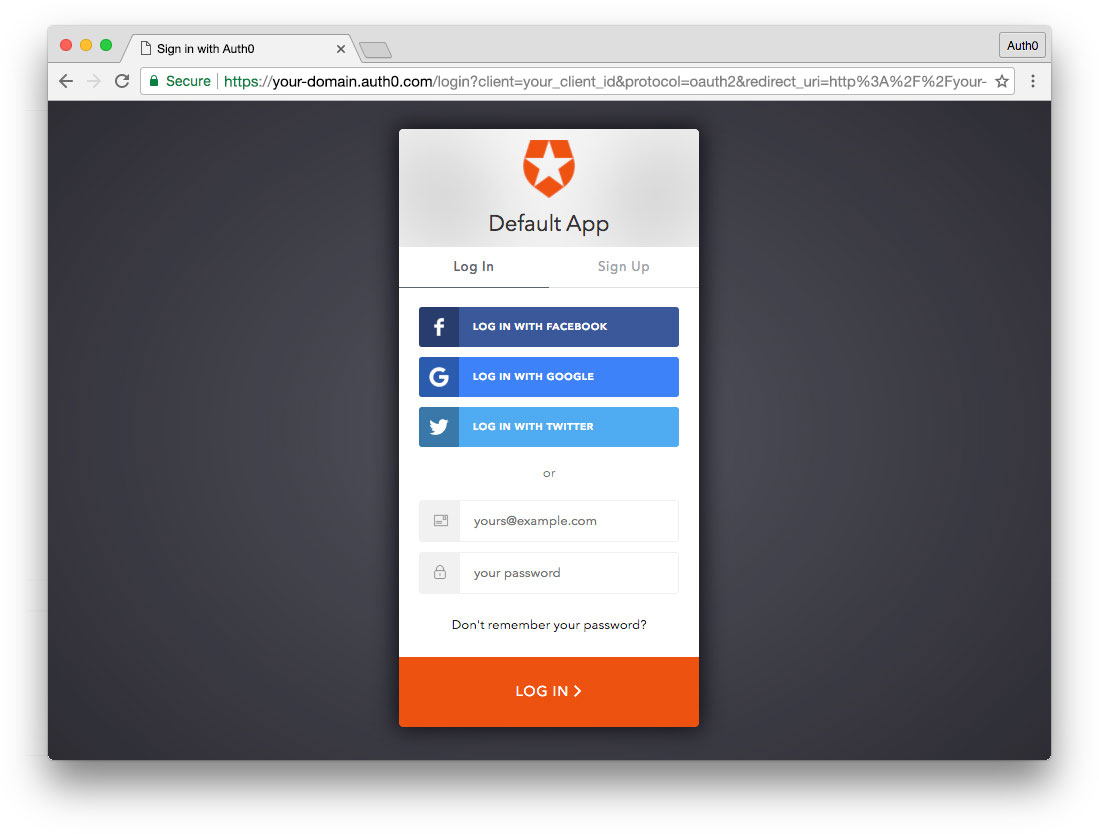
http://localhost:4200to the Allowed Callback URLs, Allowed Web Origins, and Allowed Logout URLs. Click the "Save Changes" button. - If you'd like, you can set up some social connections. You can then enable them for your app in the Application options under the Connections tab. The example shown in the screenshot above uses username/password database, Facebook, Google, and Twitter.
Note: Set up your own social keys and do not leave social connections set to use Auth0 dev keys, or you will encounter issues with token renewal.
Add dependencies and configure
In the root folder of your Angular project, install the auth0-spa-js library by typing the following command in a terminal window:
npm install @auth0/auth0-spa-js
Then, edit the environment.ts file in the src/environments folder and add the CLIENT_DOMAIN and CLIENT_ID keys as follows:
// src/environments/environment.ts

export const environment = {
  production: false,
  auth: {
    CLIENT_DOMAIN: 'YOUR_DOMAIN',
    CLIENT_ID: 'YOUR_CLIENT_ID',
  },
};

export const config = {};
Replace the
YOUR_DOMAINandYOUR_CLIENT_IDplaceholders with the actual values for the domain and client id you found in your Auth0 Dashboard.
Add the authentication service
Authentication logic in your Angular application is handled with an AuthService authentication service. So, use Angular CLI to generate this new service by running the following command:
ng generate service auth
Now, open the src/app/auth.service.ts file and replace its content with the following:
//src/app/auth.service.ts

import { Injectable } from '@angular/core';
import createAuth0Client from '@auth0/auth0-spa-js';
import Auth0Client from '@auth0/auth0-spa-js/dist/typings/Auth0Client';
import {
  from,
  of,
  Observable,
  BehaviorSubject,
  combineLatest,
  throwError,
} from 'rxjs';
import { tap, catchError, concatMap, shareReplay } from 'rxjs/operators';
import { Router } from '@angular/router';
import { environment } from './../environments/environment';

@Injectable({
  providedIn: 'root',
})
export class AuthService {
  // Create an observable of Auth0 instance of client
  auth0Client$ = (from(
    createAuth0Client({
      domain: environment.auth.CLIENT_DOMAIN,
      client_id: environment.auth.CLIENT_ID,
      redirect_uri: `${window.location.origin}`,
    }),
  ) as Observable<Auth0Client>).pipe(
    shareReplay(1), // Every subscription receives the same shared value
    catchError((err) => throwError(err)),
  );
  // Define observables for SDK methods that return promises by default
  // For each Auth0 SDK method, first ensure the client instance is ready
  // concatMap: Using the client instance, call SDK method; SDK returns a promise
  // from: Convert that resulting promise into an observable
  isAuthenticated$ = this.auth0Client$.pipe(
    concatMap((client: Auth0Client) => from(client.isAuthenticated())),
    tap((res) => (this.loggedIn = res)),
  );
  handleRedirectCallback$ = this.auth0Client$.pipe(
    concatMap((client: Auth0Client) => from(client.handleRedirectCallback())),
  );
  // Create subject and public observable of user profile data
  private userProfileSubject$ = new BehaviorSubject<any>(null);
  userProfile$ = this.userProfileSubject$.asObservable();
  // Create a local property for login status
  loggedIn: boolean = null;

  constructor(private router: Router) {
    // On initial load, check authentication state with authorization server
    // Set up local auth streams if user is already authenticated
    this.localAuthSetup();
    // Handle redirect from Auth0 login
    this.handleAuthCallback();
  }

  // When calling, options can be passed if desired
  // https://auth0.github.io/auth0-spa-js/classes/auth0client.html#getuser
  getUser$(options?): Observable<any> {
    return this.auth0Client$.pipe(
      concatMap((client: Auth0Client) => from(client.getUser(options))),
      tap((user) => this.userProfileSubject$.next(user)),
    );
  }

  private localAuthSetup() {
    // This should only be called on app initialization
    // Set up local authentication streams
    const checkAuth$ = this.isAuthenticated$.pipe(
      concatMap((loggedIn: boolean) => {
        if (loggedIn) {
          // If authenticated, get user and set in app
          // NOTE: you could pass options here if needed
          return this.getUser$();
        }
        // If not authenticated, return stream that emits 'false'
        return of(loggedIn);
      }),
    );
    checkAuth$.subscribe();
  }

  login(redirectPath: string = '/') {
    // A desired redirect path can be passed to login method
    // (e.g., from a route guard)
    // Ensure Auth0 client instance exists
    this.auth0Client$.subscribe((client: Auth0Client) => {
      // Call method to log in
      client.loginWithRedirect({
        redirect_uri: `${window.location.origin}`,
        appState: { target: redirectPath },
      });
    });
  }

  private handleAuthCallback() {
    // Call when app reloads after user logs in with Auth0
    const params = window.location.search;
    if (params.includes('code=') && params.includes('state=')) {
      let targetRoute: string; // Path to redirect to after login processed
      const authComplete$ = this.handleRedirectCallback$.pipe(
        // Have client, now call method to handle auth callback redirect
        tap((cbRes) => {
          // Get and set target redirect route from callback results
          targetRoute =
            cbRes.appState && cbRes.appState.target
              ? cbRes.appState.target
              : '/';
        }),
        concatMap(() => {
          // Redirect callback complete; get user and login status
          return combineLatest([this.getUser$(), this.isAuthenticated$]);
        }),
      );
      // Subscribe to authentication completion observable
      // Response will be an array of user and login status
      authComplete$.subscribe(([user, loggedIn]) => {
        // Redirect to target route after callback processing
        this.router.navigate([targetRoute]);
      });
    }
  }

  logout() {
    // Ensure Auth0 client instance exists
    this.auth0Client$.subscribe((client: Auth0Client) => {
      // Call method to log out
      client.logout({
        client_id: environment.auth.CLIENT_ID,
        returnTo: `${window.location.origin}`,
      });
    });
  }
}
This service provides the properties and methods necessary to manage authentication across your Angular application.
Add the login and logout buttons
To add a new component that allows you to authenticate with Auth0, run the following command in a terminal window:
ng generate component login-button
Open the src/app/login-button/login-button.component.ts file and replace its content with the following:
//src/app/login-button/login-button.component.ts

import { Component, OnInit } from '@angular/core';
import { AuthService } from '../auth.service';

@Component({
  selector: 'app-login-button',
  templateUrl: './login-button.component.html',
  styleUrls: ['./login-button.component.css'],
})
export class LoginButtonComponent implements OnInit {
  constructor(public auth: AuthService) {}

  ngOnInit() {}
}
Next, define the component's UI by replacing the content of the src/app/login-button/login-button.component.html with the following markup:
<!-- src/app/login-button/login-button.component.html -->
<div>
  <button (click)="auth.login()" *ngIf="!auth.loggedIn">Log In</button>
  <button (click)="auth.logout()" *ngIf="auth.loggedIn">Log Out</button>
</div>
Finally, put the <app-login-button></app-login-button> tag within the src/app/app.component.html file, wherever you want the component to appear.
Your Angular application is ready to authenticate with Auth0!
Check out the Angular Quickstart to learn more about integrating Auth0 with Angular applications.
Conclusion: What we've learned about Angular Testing
In this tutorial, we managed to:
- create a basic service and write tests for it
- use dependency injection in tests
- fake dependencies with Jasmine
- fake dependencies with dependency injection
If you follow the steps introduced in this article and write tests for your Angular application, you can sleep safe and sound. The code will work as intended and when someone accidentally breaks it, the tests will warn him that those changes are unsafe and shouldn't be committed until the tests are green again.
Jasmine will help you along the way with its easy syntax and batteries included (assertion and mocking library).
I hope this has convinced you that writing tests in Angular is not an overly complicated thing.
To make the start even easier, the code is available in this GitHub repository.