While creating web applications, we want to release them with as few errors as possible. We also want to make sure that the new functionalities we add to our apps don't break the existing behavior and workflows. The only way we can do that is by testing the different scenarios our apps support.
While our code base gets bigger and bigger, it gets pretty hard to manually go through the different paths our app offers every time we apply changes and edits. And even if we are coding a small web application, manual testing executed by a person may not always be the best solution. That is why having automated tests that run periodically through our apps is always a recommended idea.
We talk about User Interface testing when we want to test the visual aspects of an application. We do this to verify that the parts of our product that users will interact with are working as expected, and they meet the performance and functionality requirements.
We can create automatic processes and algorithms, probably using mock data, that execute unit and integration tests across our codebase. Doing this, we verify that everything is working as expected, and we are supporting all the logical scenarios and business rules our application handles. But if we want to test visual elements from our apps, we will need the help of a web browser.
What Is Browser Automation?
As developers, we (should) always try to automate things. We make things faster, we save work time, we spend less money, we depend less on human assistance, we get consistent results over iterations.
If we want to create and run UI tests for our web apps, we should automate actions related to web browsers. We will need to simulate interactions using input devices (keyboard, mouse, etc.), and we will verify that visual elements are working and displayed correctly. "Browser automation" is automating the usage of a web browser. The goal is to achieve efficiency and speed at a certain level that wouldn't be possible if we depend on human interaction.
There are different tools available to accomplish browser automation, implemented in different programming languages and with different features. Today we will talk about Playwright and the .NET implementation: Playwright Sharp.
What Is Playwright?
Playwright is an open-source browser automation library. It is a JavaScript-based library created to be used with Node.js. One of the main differences with other browser automation tools is that Playwright is cross-browser. It can automate tasks using Chromium (Google Chrome, Microsoft Edge), WebKit (Apple Safari), and Mozilla Firefox browsers, all with the same API.
Playwright was created by Microsoft. It was developed based on Puppeteer, and it was improved to perform automatic UI testing.
Some of the benefits Playwright offers are:
- Support for all browsers
- Test for mobile using device emulation
- Cross-platform WebKit testing
- Headless and headful execution: while automation is being executed, you can hide (headless) or show (headful) the web browser UI. Headful is usually selected for debugging, while headless is the preferred option for continuous integration or cloud executions.
“Playwright Sharp ports the power of browser automation to .NET.”
Tweet This
What Is Playwright Sharp?
Playwright Sharp is a .NET porting for Playwright. It works close to the product, so we have all the features from the original library available to be used in .NET.
Playwright Sharp has been built with C#, so developers can get the advantage of .NET features such as dependency injection, "Async" suffixes, etc.
The NuGet package has two required dependencies: the Playwright driver and the browsers that we can use. Playwright drivers will be copied to the bin folder at build time. The browsers are installed in different ways depending on the use we give to the library. If we want to use Playwright Sharp in test projects, browsers will be installed at build time.
Let's create an example project to use some of the features Playwright Sharp offers.
Playwright Sharp in Action
To get acquainted with Playwright Sharp methods and features, we will create a small end-to-end test. End-to-end testing is a technique that tests a complete workflow, from beginning to end, to ensure the flow behaves as expected. The idea is to test real scenarios to verify that everything is working as expected. For this article, we will test part of the Auth0 website. Let's say that we want to test if a particular Quickstart guide is working, and the link to the GitHub repository where the sample code lives is correct. Let's pick "Regular Web App" for ASP.NET Core.
If you want to see the final code of the project we are going to create, download it from this GitHub repo.
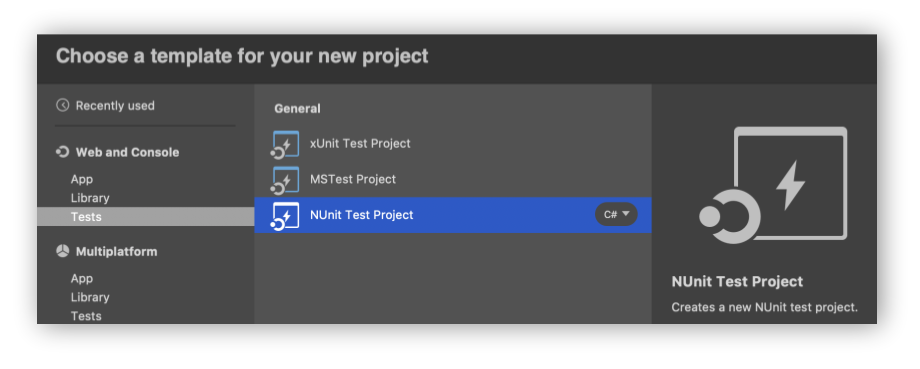
First of all, we need to create a project using a testing library to code and run our tests. You can choose any testing library you want that works with .NET Core and C#. For this example, let's create a new NUnit Test Project.
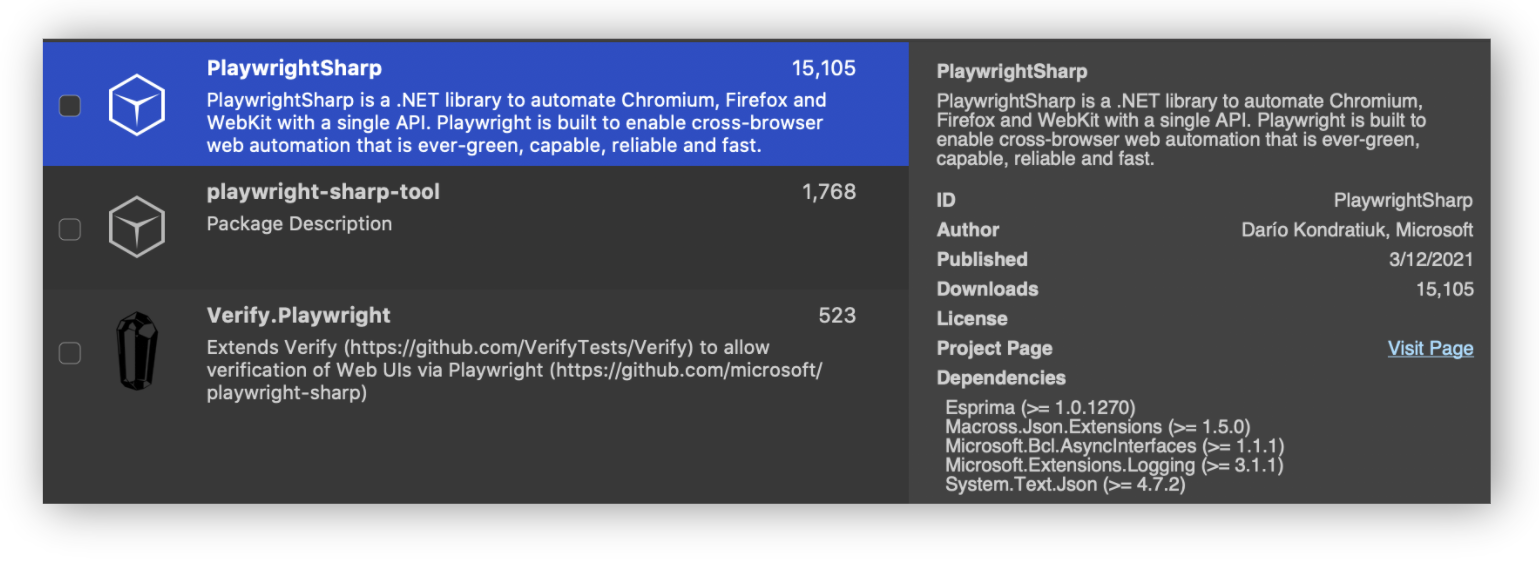
Once the project is created and the standard files are generated, let's add the "PlaywrightSharp" NuGet package to the project.
We will create only one test, so we will use the UnitTest1.cs file already generated and replace its content with the following:
// UnitTest1.cs

using System.Threading.Tasks;
using NUnit.Framework;
using PlaywrightSharp;

namespace PlaywrightSharpAuth0
{
    public class Tests
    {
        [Test]
        public async Task Auth0RegularWebAppASPNETCoreLinkWorks()
        {
            using var playwright = await Playwright.CreateAsync();
            await using var browser = await playwright.Chromium.LaunchAsync(headless: true);

            // Go to Auth0 home page
            var page = await browser.NewPageAsync();
            await page.GoToAsync("https://auth0.com/");

            // Click on the cookie policy acceptance button if it exists
            if ((await page.QuerySelectorAsync("#truste-consent-button")) != null)
            {
                await page.ClickAsync("#truste-consent-button");
            }

            // Hover on Developers
            await page.HoverAsync("li[aria-labelledby='nav-item-Developers']");

            // Click on Quickstarts
            await page.ClickAsync("a[href='https://auth0.com/docs/quickstarts/']");

            // Hover on Regular Web App
            await page.HoverAsync("div[data-type='webapp']");

            // Click on Launch Quickstart
            await page.ClickAsync("div[data-type='webapp'] button.btn-success");

            // Search for ASP.NET Core
            await page.TypeAsync("div.quickstart-search-input input", "ASP.NET Core");

            // Click on ASP.NET Core logo
            await page.ClickAsync("div[data-name='aspnet-core']");

            // Look for "View on Github" button and get the href property
            var gitHubLink = await page.EvalOnSelectorAsync<string>("a.btn-transparent.btn-block", "e => e.getAttribute('href')");

            Assert.AreEqual(gitHubLink, "https://github.com/auth0-samples/auth0-aspnetcore-mvc-samples/tree/master/Quickstart/01-Login");
        }
    }
}
Let's talk about the different methods used in the test.
- We create a Playwright instance that allows us to launch a web browser.
- For this example, we launch Chromium, the core of browsers like Google Chrome and Microsoft Edge.
LaunchAsyncmethod has several parameters. We useheadless: truebecause we don't want to see how the browser operates while executing the test. If we setheadless: falseinstead, a new browser window will be opened, and we will see how each step of the test is executed. This could be helpful in case we want to debug our tests. - We open a new page in the browser, and we go to a specific URL. In this case, the Auth0 homepage.
- We hover some elements to display different menus. We also click on links to go to other pages.
HoverAsyncandClickAsyncaccept CSS selectors to look for specific elements in the web page. - We can also type text inside an input with
TypeAsync. - With
EvalOnSelectorAsync, we execute an expression and get its result. In this case, we look for thehrefproperty value of an<a>element with the specified CSS selector. We compare that value with the URL we expect, so we can say the test passed correctly.
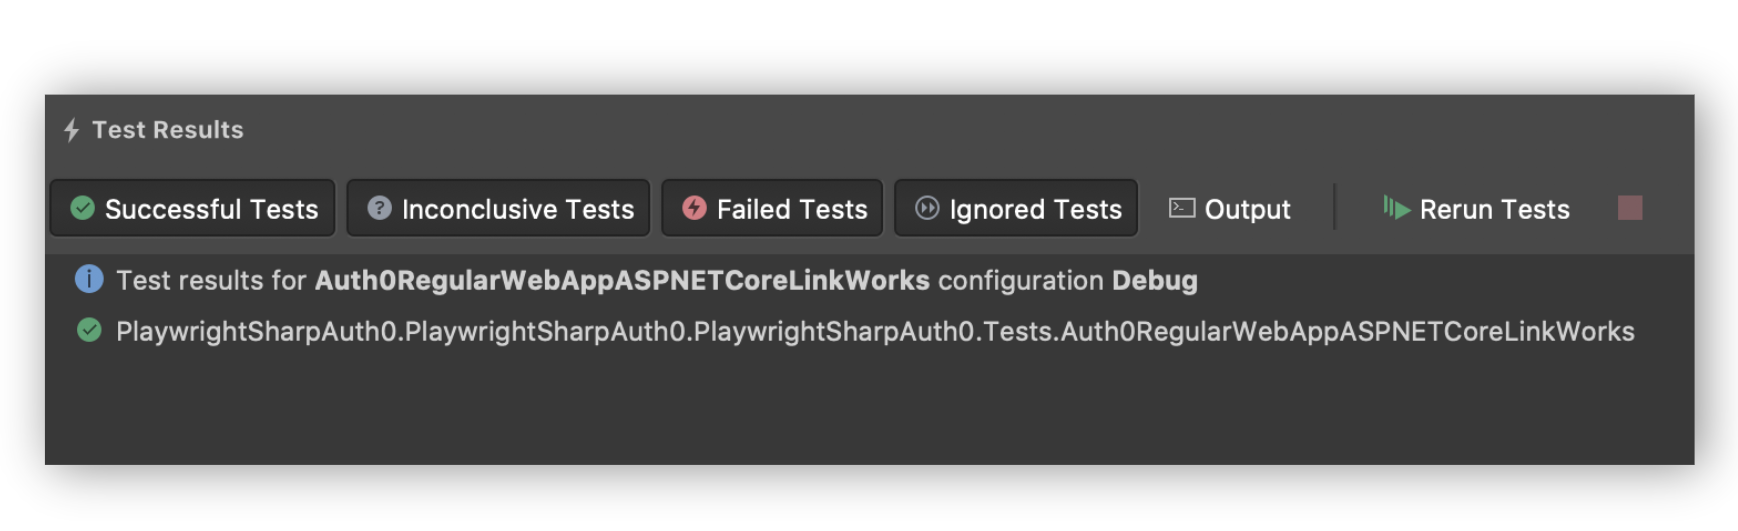
If we run the test, it should pass (if the Auth0 page didn't change since this article was written).
What's Next?
We created a simple end-to-end test, so we saw how to use some of Playwright Sharp main features. If we want to create more complex UI tests or to automate another kind of browser-based task, we can take a look at the Playwright GitHub repository for some examples. We also have the official Playwright documentation site, where we can read about different concepts and functions we have available to create our automation processes. There are various elements from a web page that we can interact with: dialogs, downloads, authentication, videos, etc. We can also generate screenshots of what's displayed in the browser or even generate PDF files.
Summary
In this article, we talked about UI testing and how to implement that through browser automation using Playwright Sharp. If we want to create tests that cover the possible workflows of our web application and analyze the visual elements of them, a library like Playwright Sharp is a powerful tool. With it, we can create end-to-end tests supporting all modern web browsers.
Aside: Securing ASP.NET Core with Auth0
Securing ASP.NET Core applications with Auth0 is easy and brings a lot of great features to the table. With Auth0, you only have to write a few lines of code to get a solid identity management solution, single sign-on, support for social identity providers (like Facebook, GitHub, Twitter, etc.), and support for enterprise identity providers (like Active Directory, LDAP, SAML, custom, etc.).
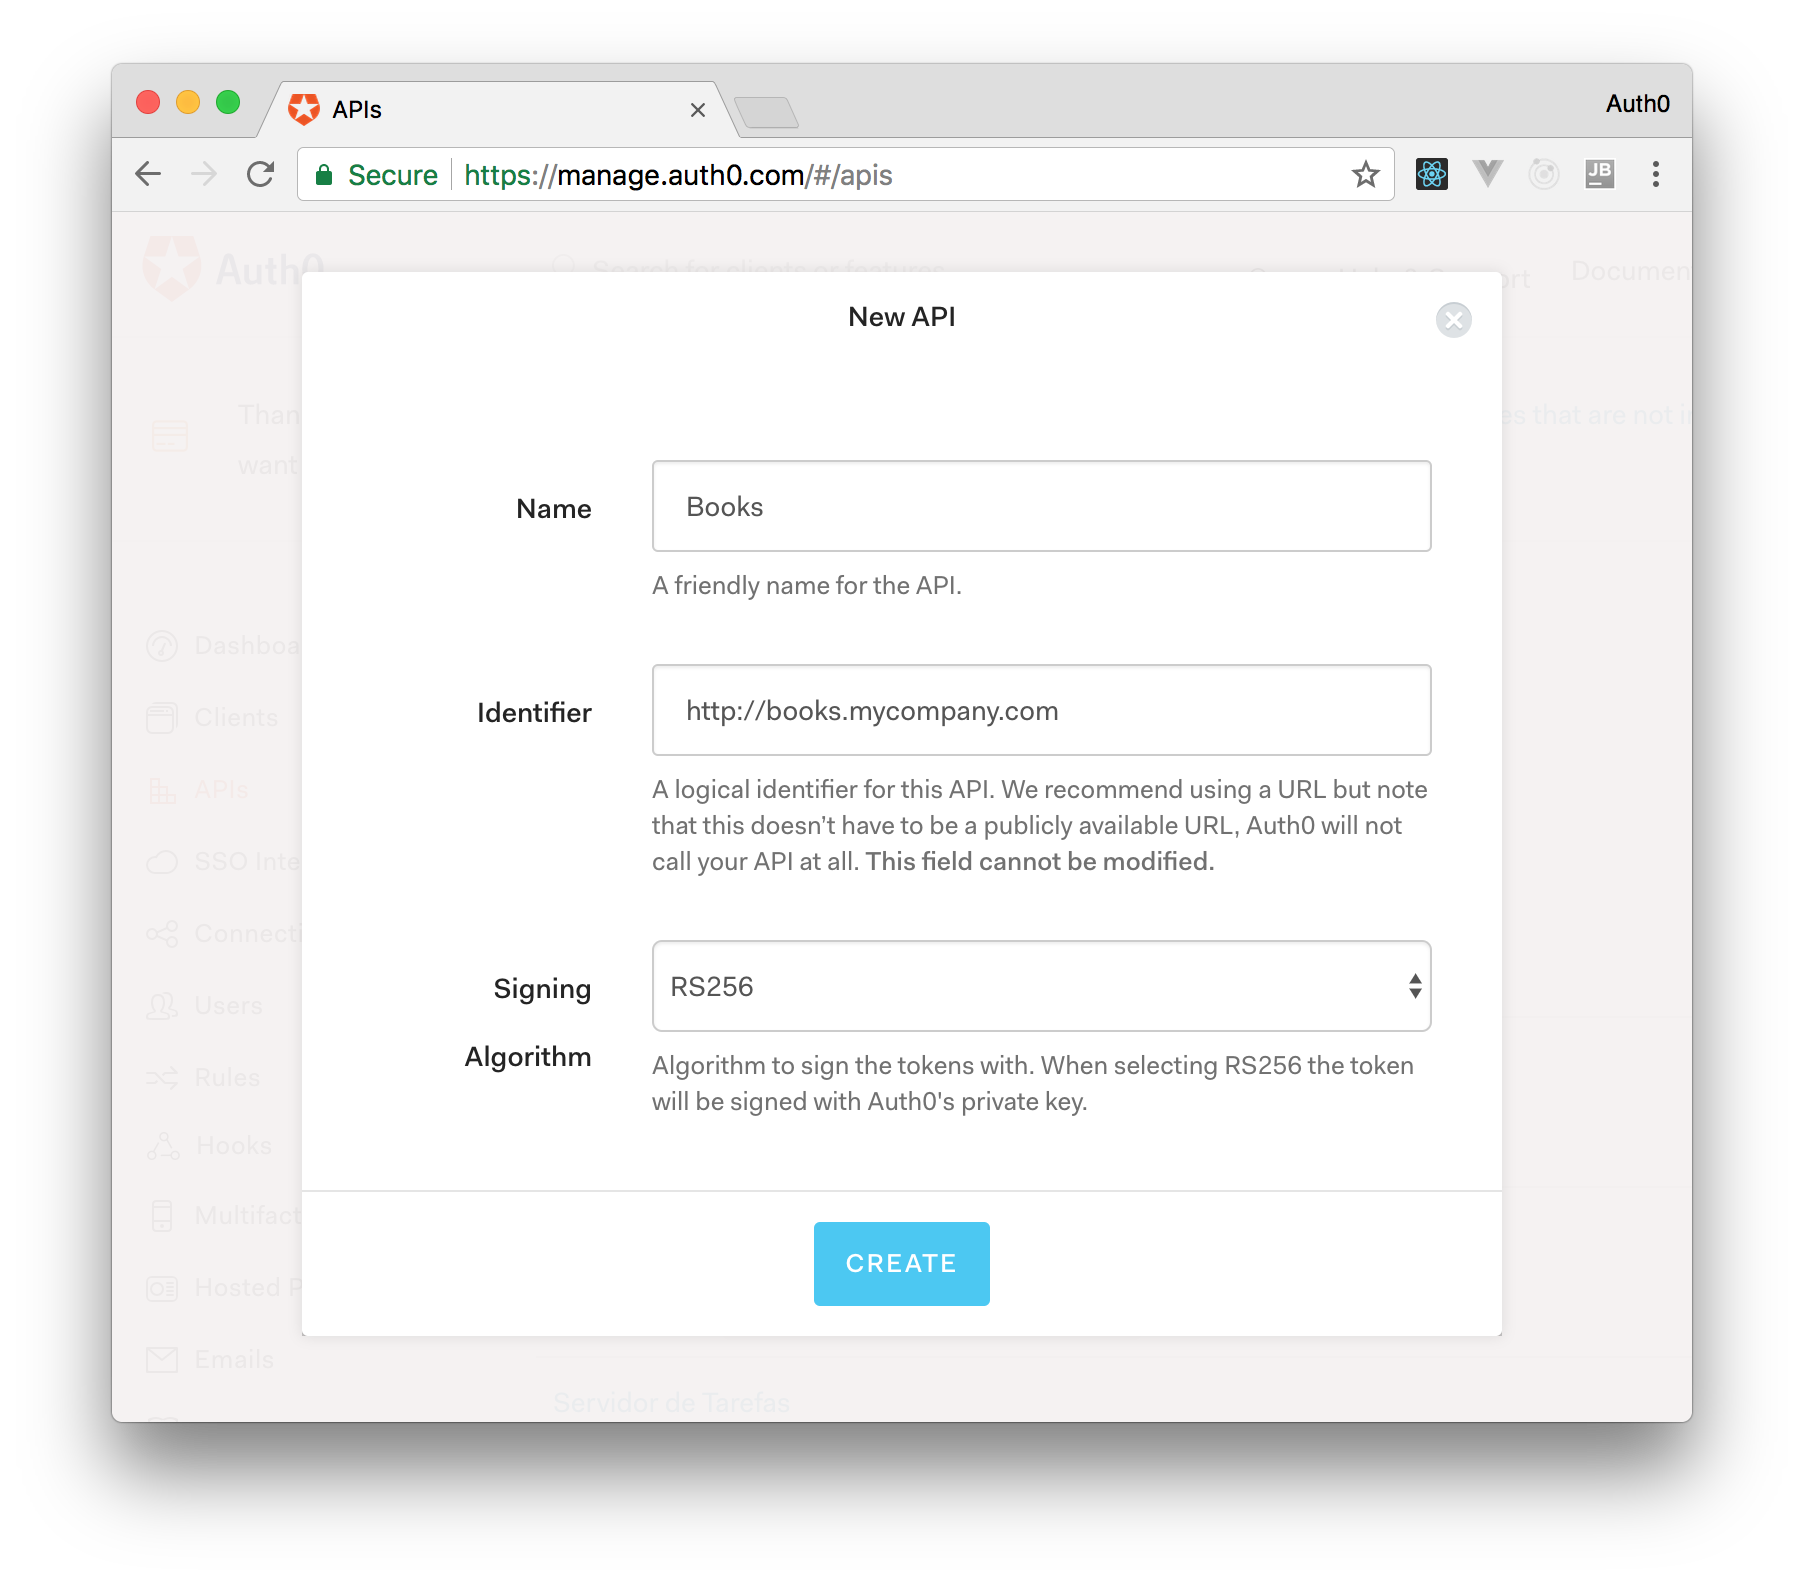
On ASP.NET Core, you need to create an API in your Auth0 Management Dashboard and change a few things on your code. To create an API, you need to sign up for a free Auth0 account. After that, you need to go to the API section of the dashboard and click on "Create API". On the dialog shown, you can set the Name of your API as "Books", the Identifier as "http://books.mycompany.com", and leave the Signing Algorithm as "RS256".
After that, you have to add the call to services.AddAuthentication() in the ConfigureServices() method of the Startup class as follows:
string authority = $"https://{Configuration["Auth0:Domain"]}/";
string audience = Configuration["Auth0:Audience"];

services.AddAuthentication(options =>
{
  options.DefaultAuthenticateScheme = JwtBearerDefaults.AuthenticationScheme;
  options.DefaultChallengeScheme = JwtBearerDefaults.AuthenticationScheme;
}).AddJwtBearer(options =>
{
  options.Authority = authority;
  options.Audience = audience;
});
In the body of the Configure() method of the Startup class, you also need to add an invocation to app.UseAuthentication() and app.UseAuthorization() as shown below:
app.UseRouting();
app.UseAuthentication();
app.UseAuthorization();
app.UseEndpoints(endpoints =>
{
    endpoints.MapControllers();
});
Make sure you invoke these methods in the order shown above. It is essential so that everything works properly.
Finally, add the following element to the appsettings.json configuration file:
{
  "Logging": {
    // ...
  },
  "Auth0": {
    "Domain": "YOUR_DOMAIN",
    "Audience": "YOUR_AUDIENCE"
  }
}
Note: Replace the placeholders
YOUR_DOMAINandYOUR_AUDIENCEwith the actual values for the domain that you specified when creating your Auth0 account and the Identifier you assigned to your API.
About the author

Facundo Giuliani
Systems Engineer, Full Stack Developer